axios的使用
1.在vscode创建index.php,导入index.js,vue.js,index.js,axios.min.js四个包
html使用vue材料包.zip
2.(1)编写index.php,写入以下代码:
1
2
3
4
5
6
7
8
9
10
11
12
13
14
15
16
17
18
19
20
21
22
23
24
25
26
27
28
29
30
31
32
33
34
35
36
37
38
39
40
41
42
43
44
45
46
47
48
49
50
51
52
53
54
55
56
57
58
59
60
61
62
63
64
65
66
67
68
69
70
71
72
73
74
75
76
77
78
79
80
81
82
83
84
85
86
87
88
89
| <!DOCTYPE html>
<html lang="en">
<head>
<meta charset="UTF-8">
<meta name="viewport" content="width=device-width, initial-scale=1.0">
<title>Document</title>
<link rel="stylesheet" href="./index.css">
<script src="./vue.js"></script>
</head>
<body>
<div id="app">
<div class="login1">
<div class="login2">
<i class="el-icon-reading"></i>
<h1>图书管理系统登录</h1>
<el-input placeholder="请输入内容" v-model="userData.username" clearable></el-input>
<el-input placeholder="请输入内容" v-model="userData.password" clearable show-password></el-input>
<el-button type="primary" @click="login">登录</el-button>
</div>
</div>
</div>
<style>
.el-icon-reading {
font-size: 100px;
}
.login2 {
text-align: center;
justify-content: center;
height: 20vh;
width: 20vw;
}
.login1 {
display: flex;
flex-direction: column;
align-items: center;
background-image: url(./img/6.jpg);
background-repeat: no-repeat;
background-size: 100% 100%;
background-attachment: fixed;
width: 100vw;
height: 100vh;
}
</style>
<script src="./axios.min.js"></script>
<script src="./index.js"></script>
<script>
new Vue({
el: '#app',
data: function() {
return {
visible: false,
userData: {
username: '',
password: '',
}
}
},
methods: {
login: function() {
axios.post('http://192.168.17.128/api.php', this.userData)
.then((response) => {
console.log(response);
if (response.data.includes('success')) {
window.location.href = "http://192.168.17.128/zhuye.php";
} else {
this.open4();
}
}
)
},
open4: function() {
this.$notify.error({
title: '错误',
message: '账号密码错误'
});
}
}
})
</script>
</body>
</html>
|
(2)45到78行使用了axios和数据绑定,我们来进行分析。代码创建了一个Vue实例并绑定到id为”app”的元素上。在data选项中定义了一些数据属性,包括visible、userData和其中的username和password属性。
在methods选项中定义了一个名为login的方法。该方法使用Axios发送一个POST请求到”http://192.168.17.128/api.php",并传递userData作为请求的参数。请求成功后,通过判断返回的响应数据中是否包含"success"来确定登录是否成功。如果成功,代码将跳转到"http://192.168.2.70/zhuye.php";如果失败,将调用open4方法。
open4方法使用了Vue的$notify方法来显示一个错误通知,通知的标题是”错误”,内容是”账号密码错误”。
api.php的使用
1.编写api.php,写入以下代码:
1
2
3
4
5
6
7
8
9
10
11
12
13
14
15
16
17
18
19
20
21
22
23
24
25
26
27
28
29
30
31
32
33
34
| <?php
header("Access-Control-Allow-Origin: *");
header("Access-Control-Allow-Methods: GET, POST, OPTIONS, PUT, DELETE");
header("Access-Control-Allow-Headers: Content-Type, Access-Control-Allow-Headers, Authorization, X-Requested-With");
$link = mysqli_connect("192.168.17.128", "root", "root", "security") or exit(json_encode(['error' => '数据库连接失败!']));
mysqli_query($link, "set names utf8");
$requertPath = $_SERVER['REQUEST_URI'];
$requestMethod = $_SERVER['REQUEST_METHOD'];
if ($requertPath === '/api.php' && $requestMethod === 'POST') {
$inputJSON = file_get_contents("php://input");
$input = json_decode($inputJSON, true);
if ($input === null) {
header('HTTP/1.1 400 Bad Request');
echo json_encode(['error' => 'Invalid JSON']);
} else {
$username = $input['username'];
$password = $input['password'];
$sql = "SELECT username, password FROM users WHERE username='$username' and password='$password'LIMIT 0,1";
$result = mysqli_query($link, $sql);
if (mysqli_num_rows($result) > 0) {
echo 'success';
} else {
echo '账号和密码错误';
}
}
} else {
header('http/1.1 400 Bad Request');
echo json_encode(['error' => 'Invalid JSON']);
}
|
我们对这段代码进行分析:
(1)首先通过设置HTTP头部信息,允许跨域请求,这在前后端分离的项目中是非常常见的。
(2)使用mysqli_connect函数连接到MySQL数据库服务器,并选择名为”security”的数据库。如果连接失败,则会返回一个包含错误信息的JSON响应并退出程序。
(3)根据接收到的HTTP请求的路径和方法,判断是否为预期的接口路径和请求类型。如果是预期的POST请求,就从请求中获取JSON格式的数据,并解析为关联数组。
(4)如果解析JSON数据出错,返回400 Bad Request响应;否则,从接收到的数据中获取用户名和密码,并构造一个SQL查询语句,查询名为”users”的表中是否存在对应的用户名和密码记录。
(5)如果查询结果存在匹配的用户名和密码,则返回”success”字符串,表示登录成功;否则,返回”账号和密码错误”字符串,表示登录失败。在未收到预期的路径和请求方法时,同样返回400 Bad Request响应。
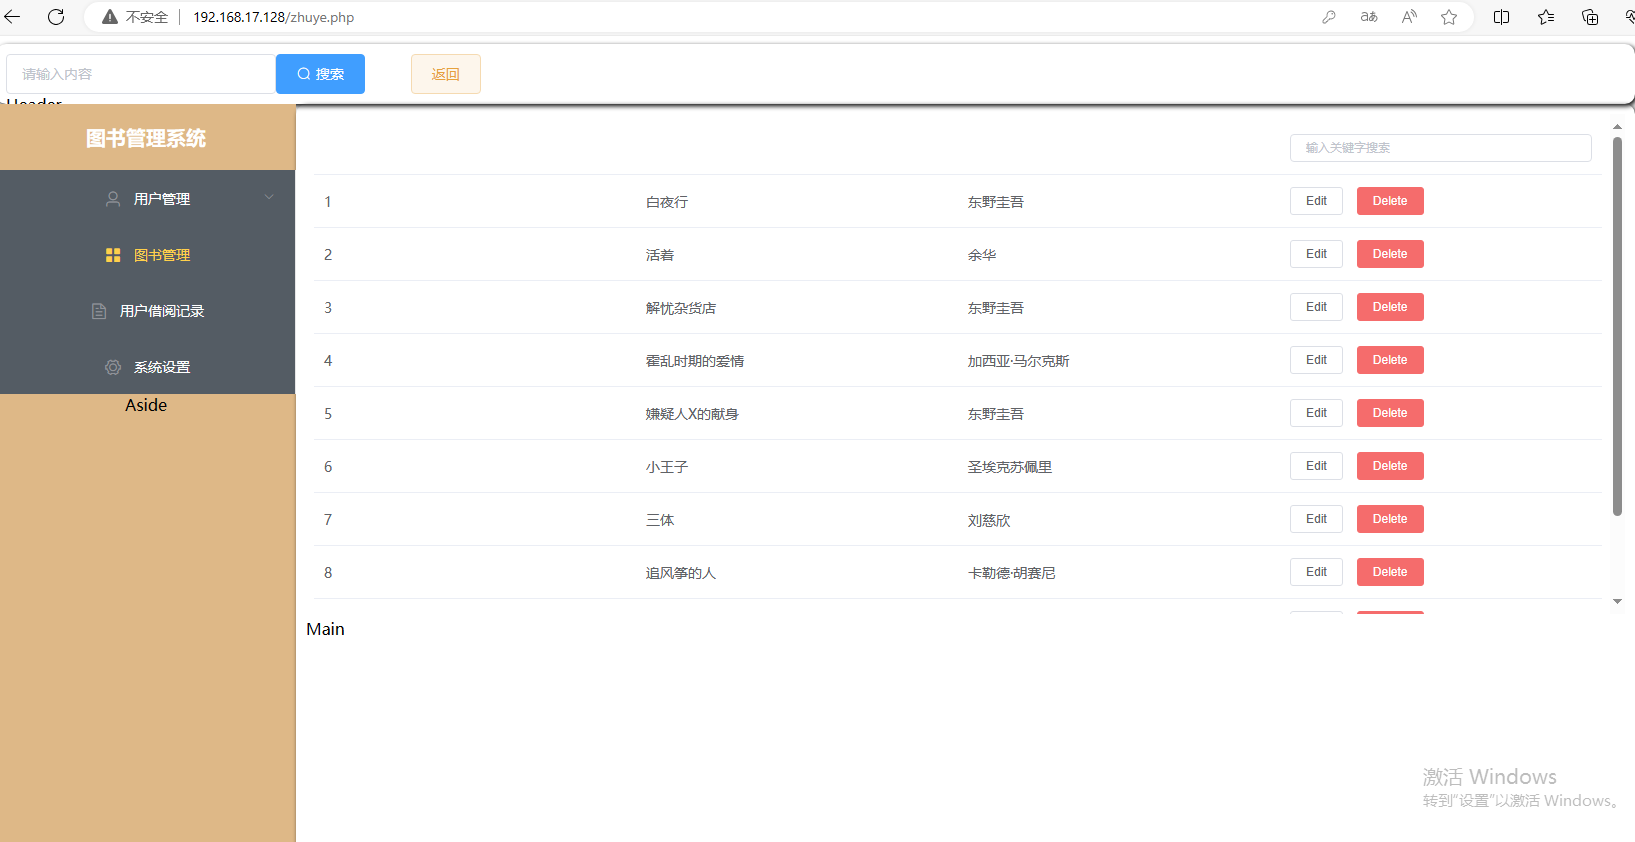
2.把index.php和api.php复制到虚拟机win10hei的phpstudy的根目录下,打开网站,点击登录,可以跳转到主页页面。


