一.postman、phpstudy安装
1.由于数据绑定,数据交互在这个阶段不适合去学习,就直接转到了后端学习。下载安装postman,Postman是一款常用的API测试工具,它提供了一个用户友好的界面,可以帮助开发人员更加方便地发送HTTP请求并查看响应结果,以便于测试和调试API接口。链接:https://www.postman.com/
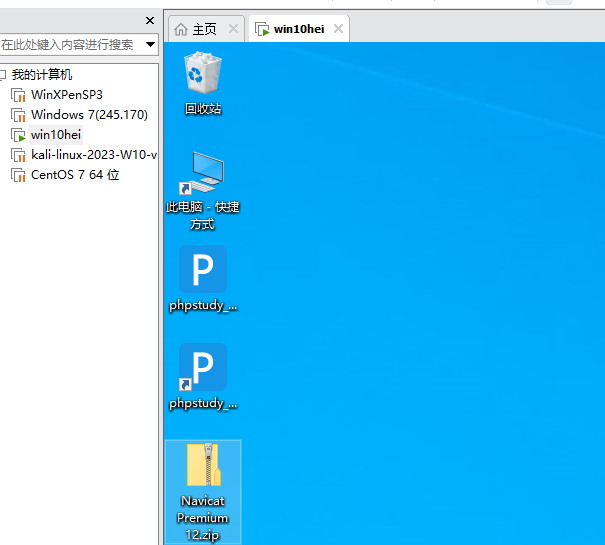
2.下载phpstudy,链接:https://www.xp.cn/ 然后把这个软件复制到虚拟机win10hei,最后安装
二.php基本语法
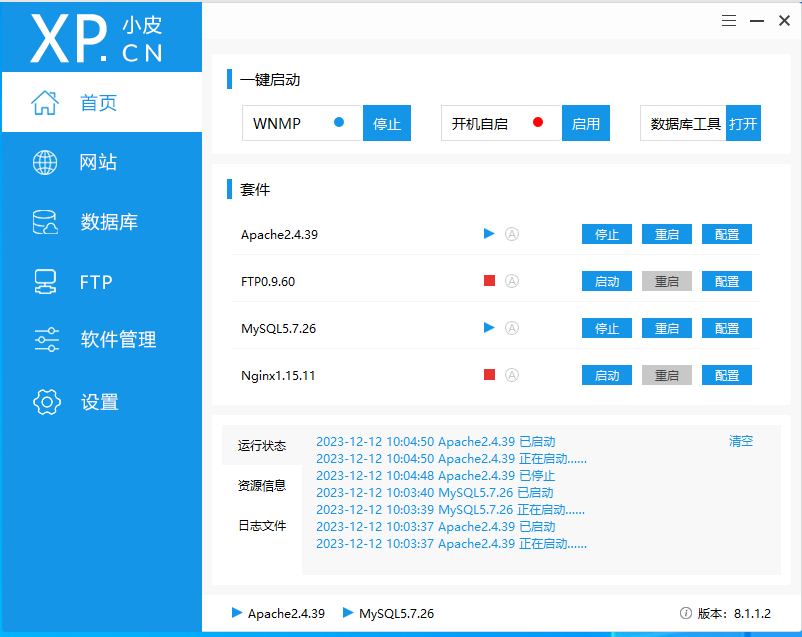
1.开启Apache2.4.39和MySQL5.7.26
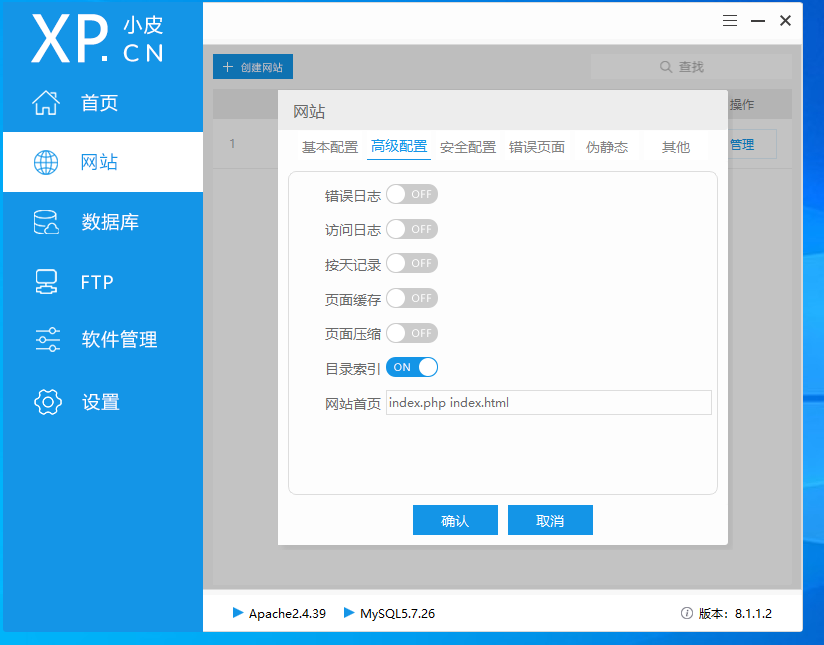
2.点击网站,再点击高级设置,开启目录索引。
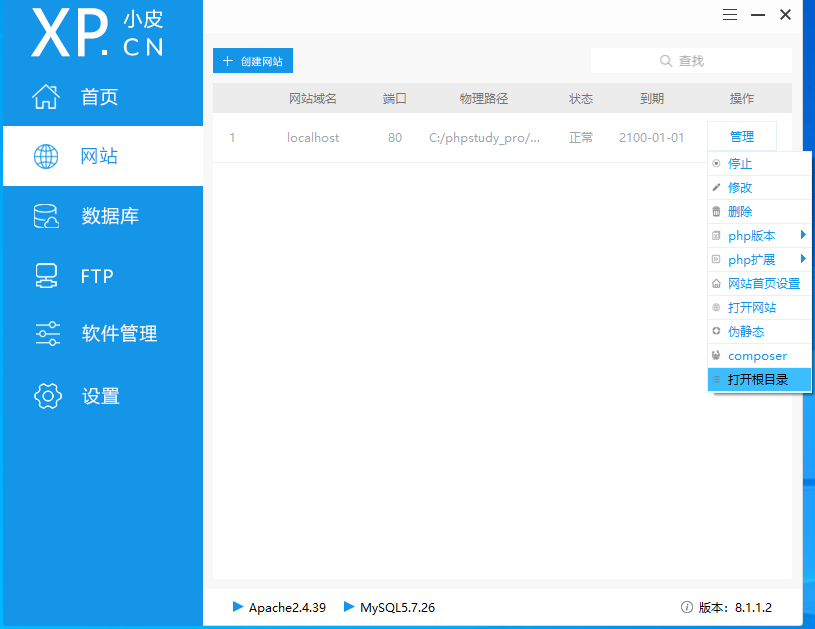
3.点击管理,打开根目录,删除第二张图下的四个文件

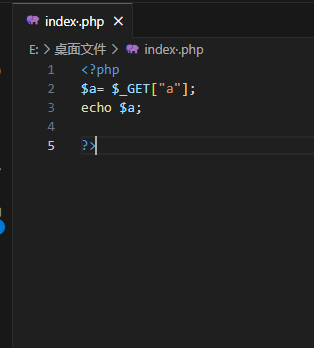
4.在物理机创建一个文本文档并重命名为Index.php,用vscode打开,输入以下代码并保存
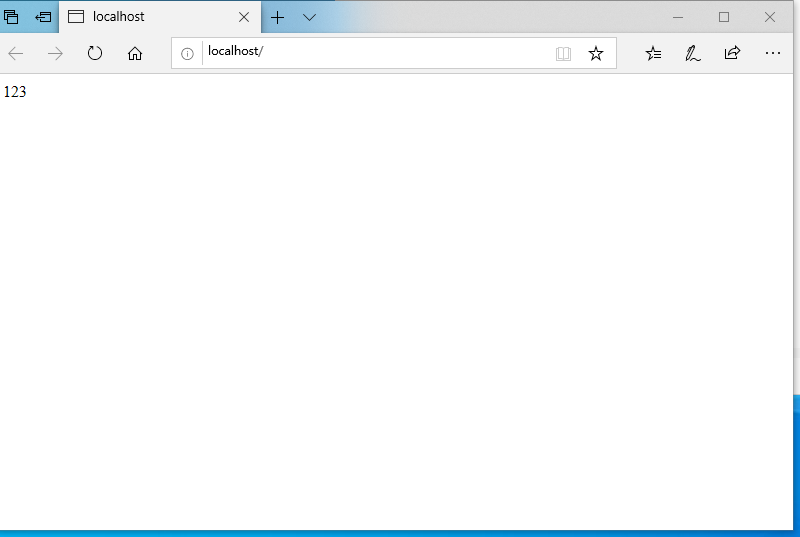
把这个文件复制到phpstudy的根目录下,然后打开网站
注意:apache只能在根目录下解析
5.php语法
(1)变量与变量之间用 . 隔开。 变量与符号之间用 . 隔开 符号与符号之间用 . 隔开
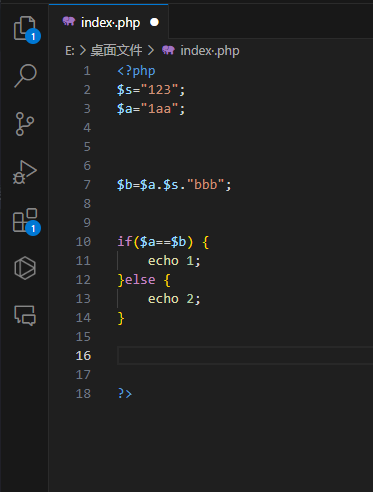
(2)弱类型匹配:指的是在进行变量之间的操作(比如赋值、运算等)时,PHP会自动进行类型转换,以使得操作可以顺利进行。
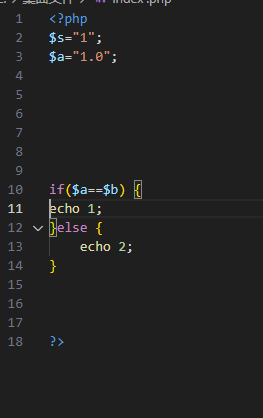
(3)强类型匹配:全等符 “===” 是用来进行强类型匹配的。它与双等符 “==” 的区别在于,它不仅比较值是否相等,还比较数据类型是否相同。
1
2
3
4
5
6
7
8
9
| $a = 5;
$b = "5";
if ($a === $b) {
echo "相等";
} else {
echo "不相等";
}
|
上述代码中,由于 $a 和 $b 的数据类型不同,即便它们的值相等,也会被视为不相等,因此这段代码将会输出 “不相等”。
(4)输入下图代码:
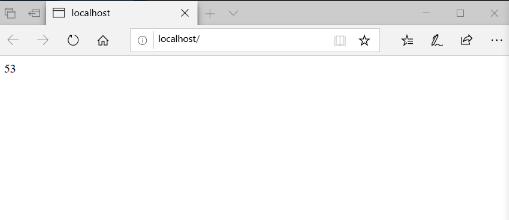
在phpstudy的打开网站的地址栏输入 ?a=1433223结果为:

(5)问题1:假设在笼子里有头数为8的动物,总共有22只脚。
写出代码如下:
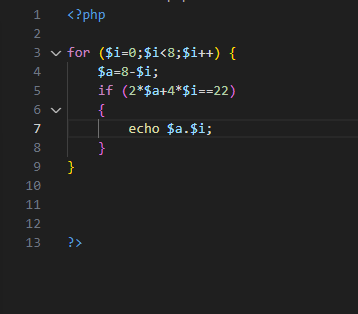
结果:
问题2:n张5毛,y张1块,z张10块,t张50,x张100,问我手上一共有156钱,一共有多少种组合,满足我手上的钱。
1
2
3
4
5
6
7
8
9
10
11
12
13
14
15
16
17
18
19
20
21
22
23
| <?php
function countCombinations($totalAmount) {
$combinations = 0;
for ($n = 0; $n <= $totalAmount / 0.5; $n++) {
for ($y = 0; $y <= $totalAmount / 1; $y++) {
for ($z = 0; $z <= $totalAmount / 10; $z++) {
for ($t = 0; $t <= $totalAmount / 50; $t++) {
for ($x = 0; $x <= $totalAmount / 100; $x++) {
if (($n * 0.5 + $y * 1 + $z * 10 + $t * 50 + $x * 100) == $totalAmount) {
$combinations++;
}
}
}
}
}
}
return $combinations;
}
$totalAmount = 156;
$result = countCombinations($totalAmount);
echo "满足条件的组合数量为:".$result;
?>
|
三.php连接数据库
1.在主机创建link.php文件,并将其复制到phpstudy的根目录,以下的是用到的函数
isset()判断传参是否正确
trim() 把字符串中所有空格去掉
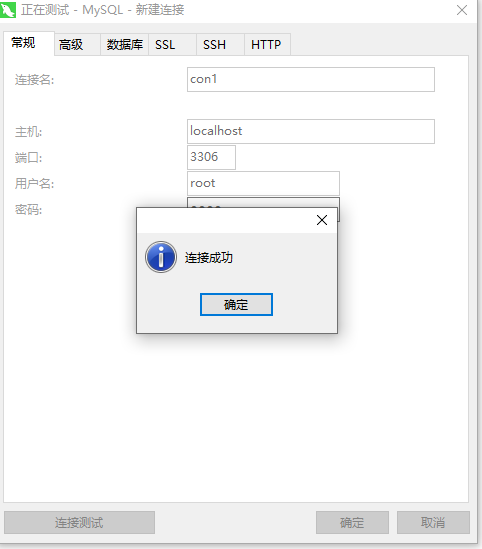
2.在虚拟机下载navicat软件,打开软件,点击连接。填写下图的参数,密码:root ,新建连接con1。连接mysql数据库。下载老师的sqli.zip,复制到虚拟机phpstudy的根目录并解压。
右击con1,新建数据库security,,把老师发的security.sql中的代码复制到新建的s数据库security,运行。出现以下四个表

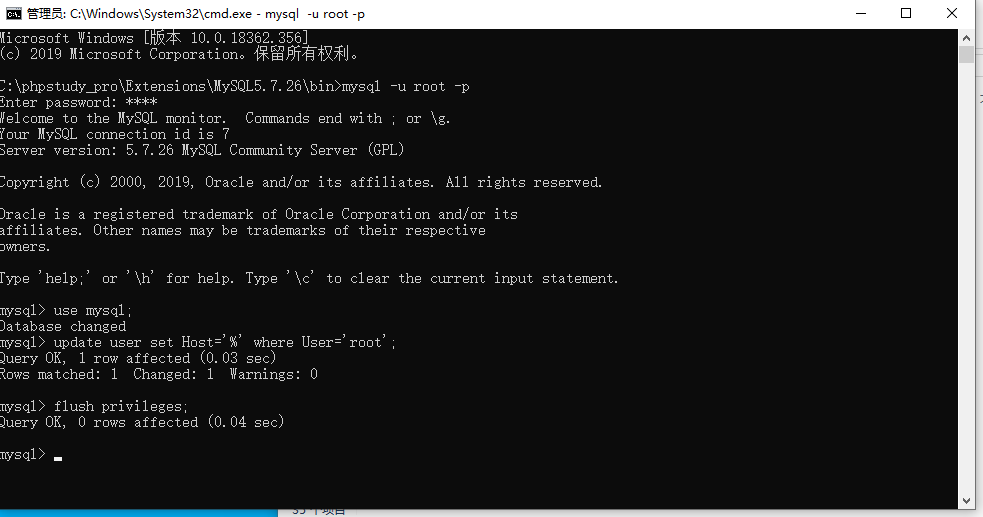
3.连接mysql数据库的步骤如下:
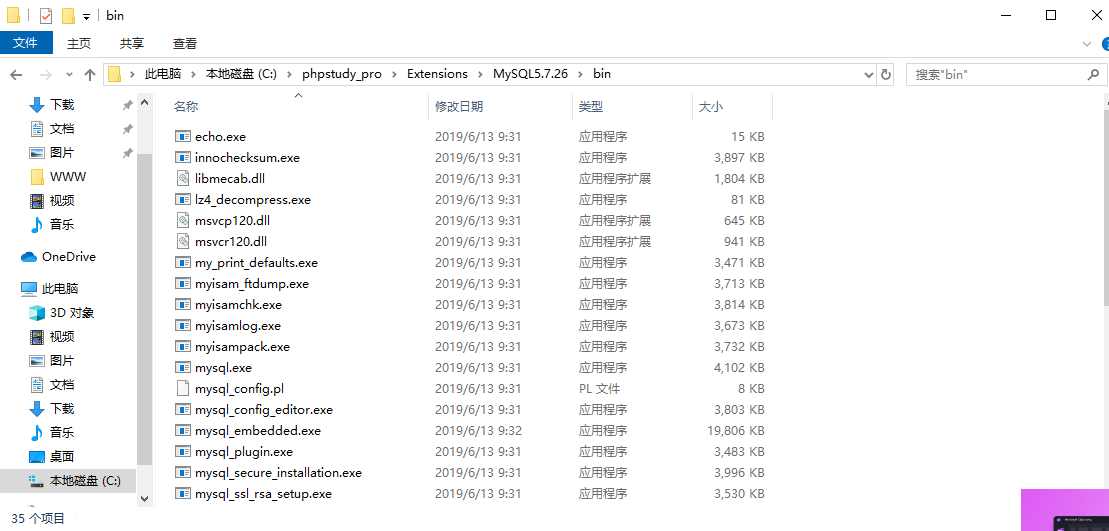
(1)在虚拟机win10hei的C:\phpstudy_pro\Extensions\MySQL5.7.26\bin的路径,输入cmd,配置命令。
1
2
3
4
| mysql -u root -p
use mysql;
update user set Host='%' where User='root';
flush privileges;
|
apache在根目录下解析,生成网站,apache通过php解析,PHP运行在网站上
(2)在vscode的index.php文件写入以下代码:
1
2
3
4
5
6
7
8
9
10
11
12
13
14
15
16
17
18
19
20
21
22
23
24
25
| !DOCTYPE html>
<html lang="en">
<head>
<meta charset="UTF-8">
<meta name="viewport" content="width=device-width, initial-scale=1.0">
<title>Document</title>
</head>
<body>
<form action="/" method="post">
<!-- 文本输入框 -->
<label for="name">用户名:</label>
<input type="text" id="name" name="name" required>
<br>
<!-- 密码输入框 -->
<label for="password">密码:</label>
<input type="password" id="password" name="password" required>
<br>
<!-- 提交按钮 -->
<input type="submit" value="提交">
</form>
</body>
</html>
|
在link.php文件写入以下代码:
1
2
3
4
5
6
7
8
9
10
11
12
13
14
15
16
| <?php
header('content-type: text/html; charset=utf-8');
$u="admin1";
$p="admin1";
$link=mysqli_connect("127.0.0.1","root","root","security")or exit("Error connecting");
mysqli_query($link,"set names utf8");
$sql="select * from users where username='$u' and password='$p'";
$result=mysqli_query($link,$sql);
$row=mysqli_fetch_array($result);
echo 'Your Login name:'.$row['username']."<br>";
echo 'Your Password:'.$row['password'];
?>
|
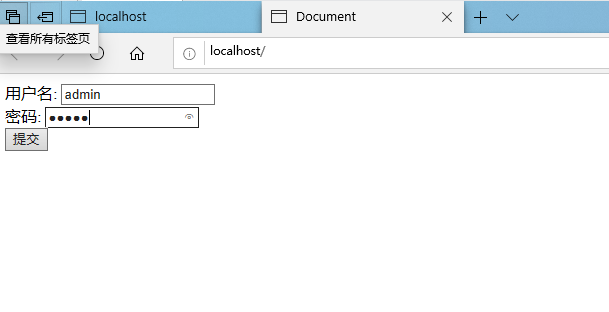
(3)把这两个文件复制到phpstudy的根目录保存,打开网站,在from表单输入姓名和密码,提交。
出现以下结果:
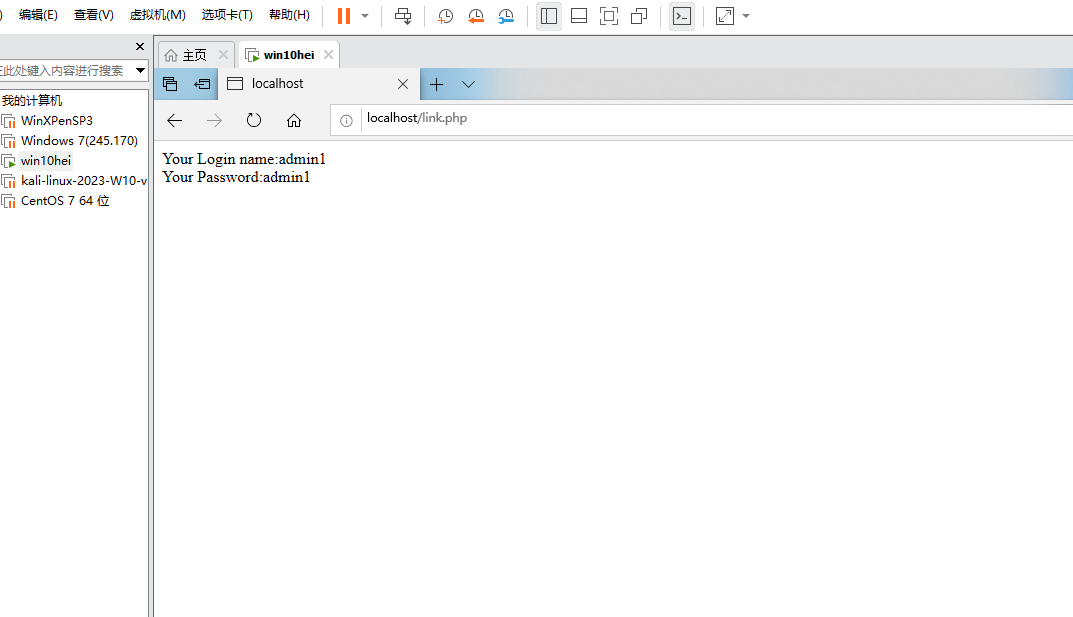
成功了。